Wardrobe
Browse all posts in:


→
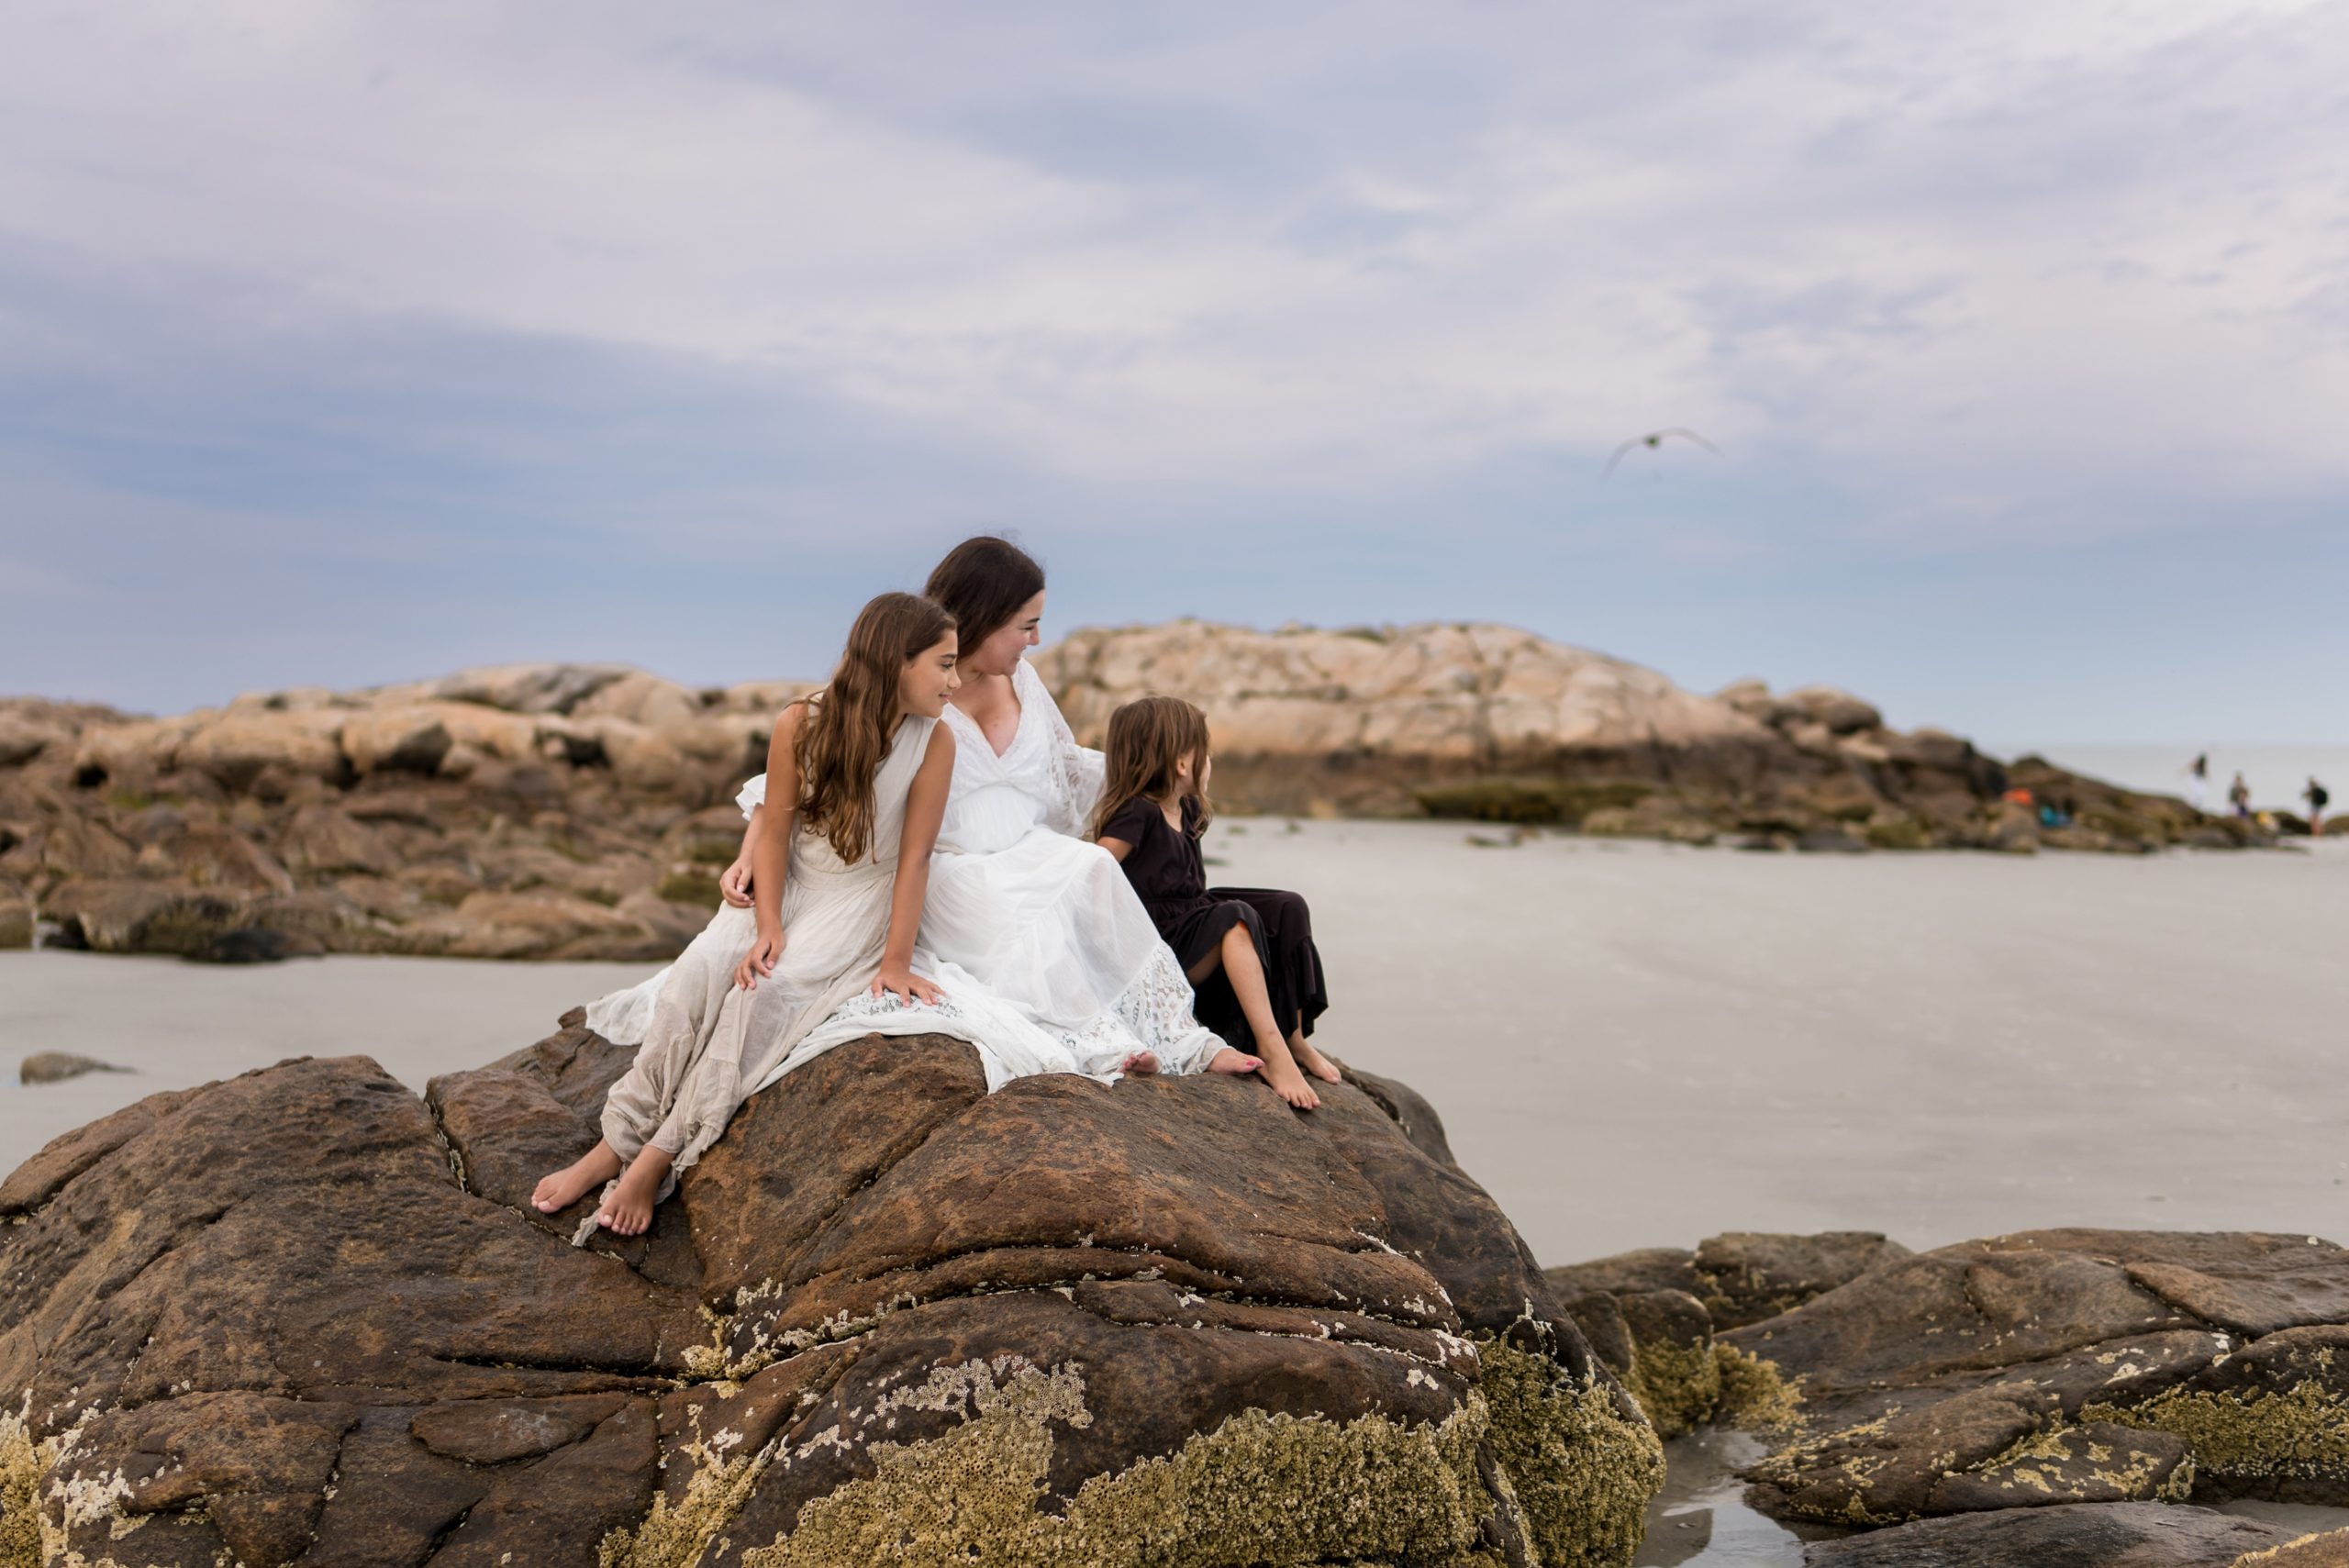
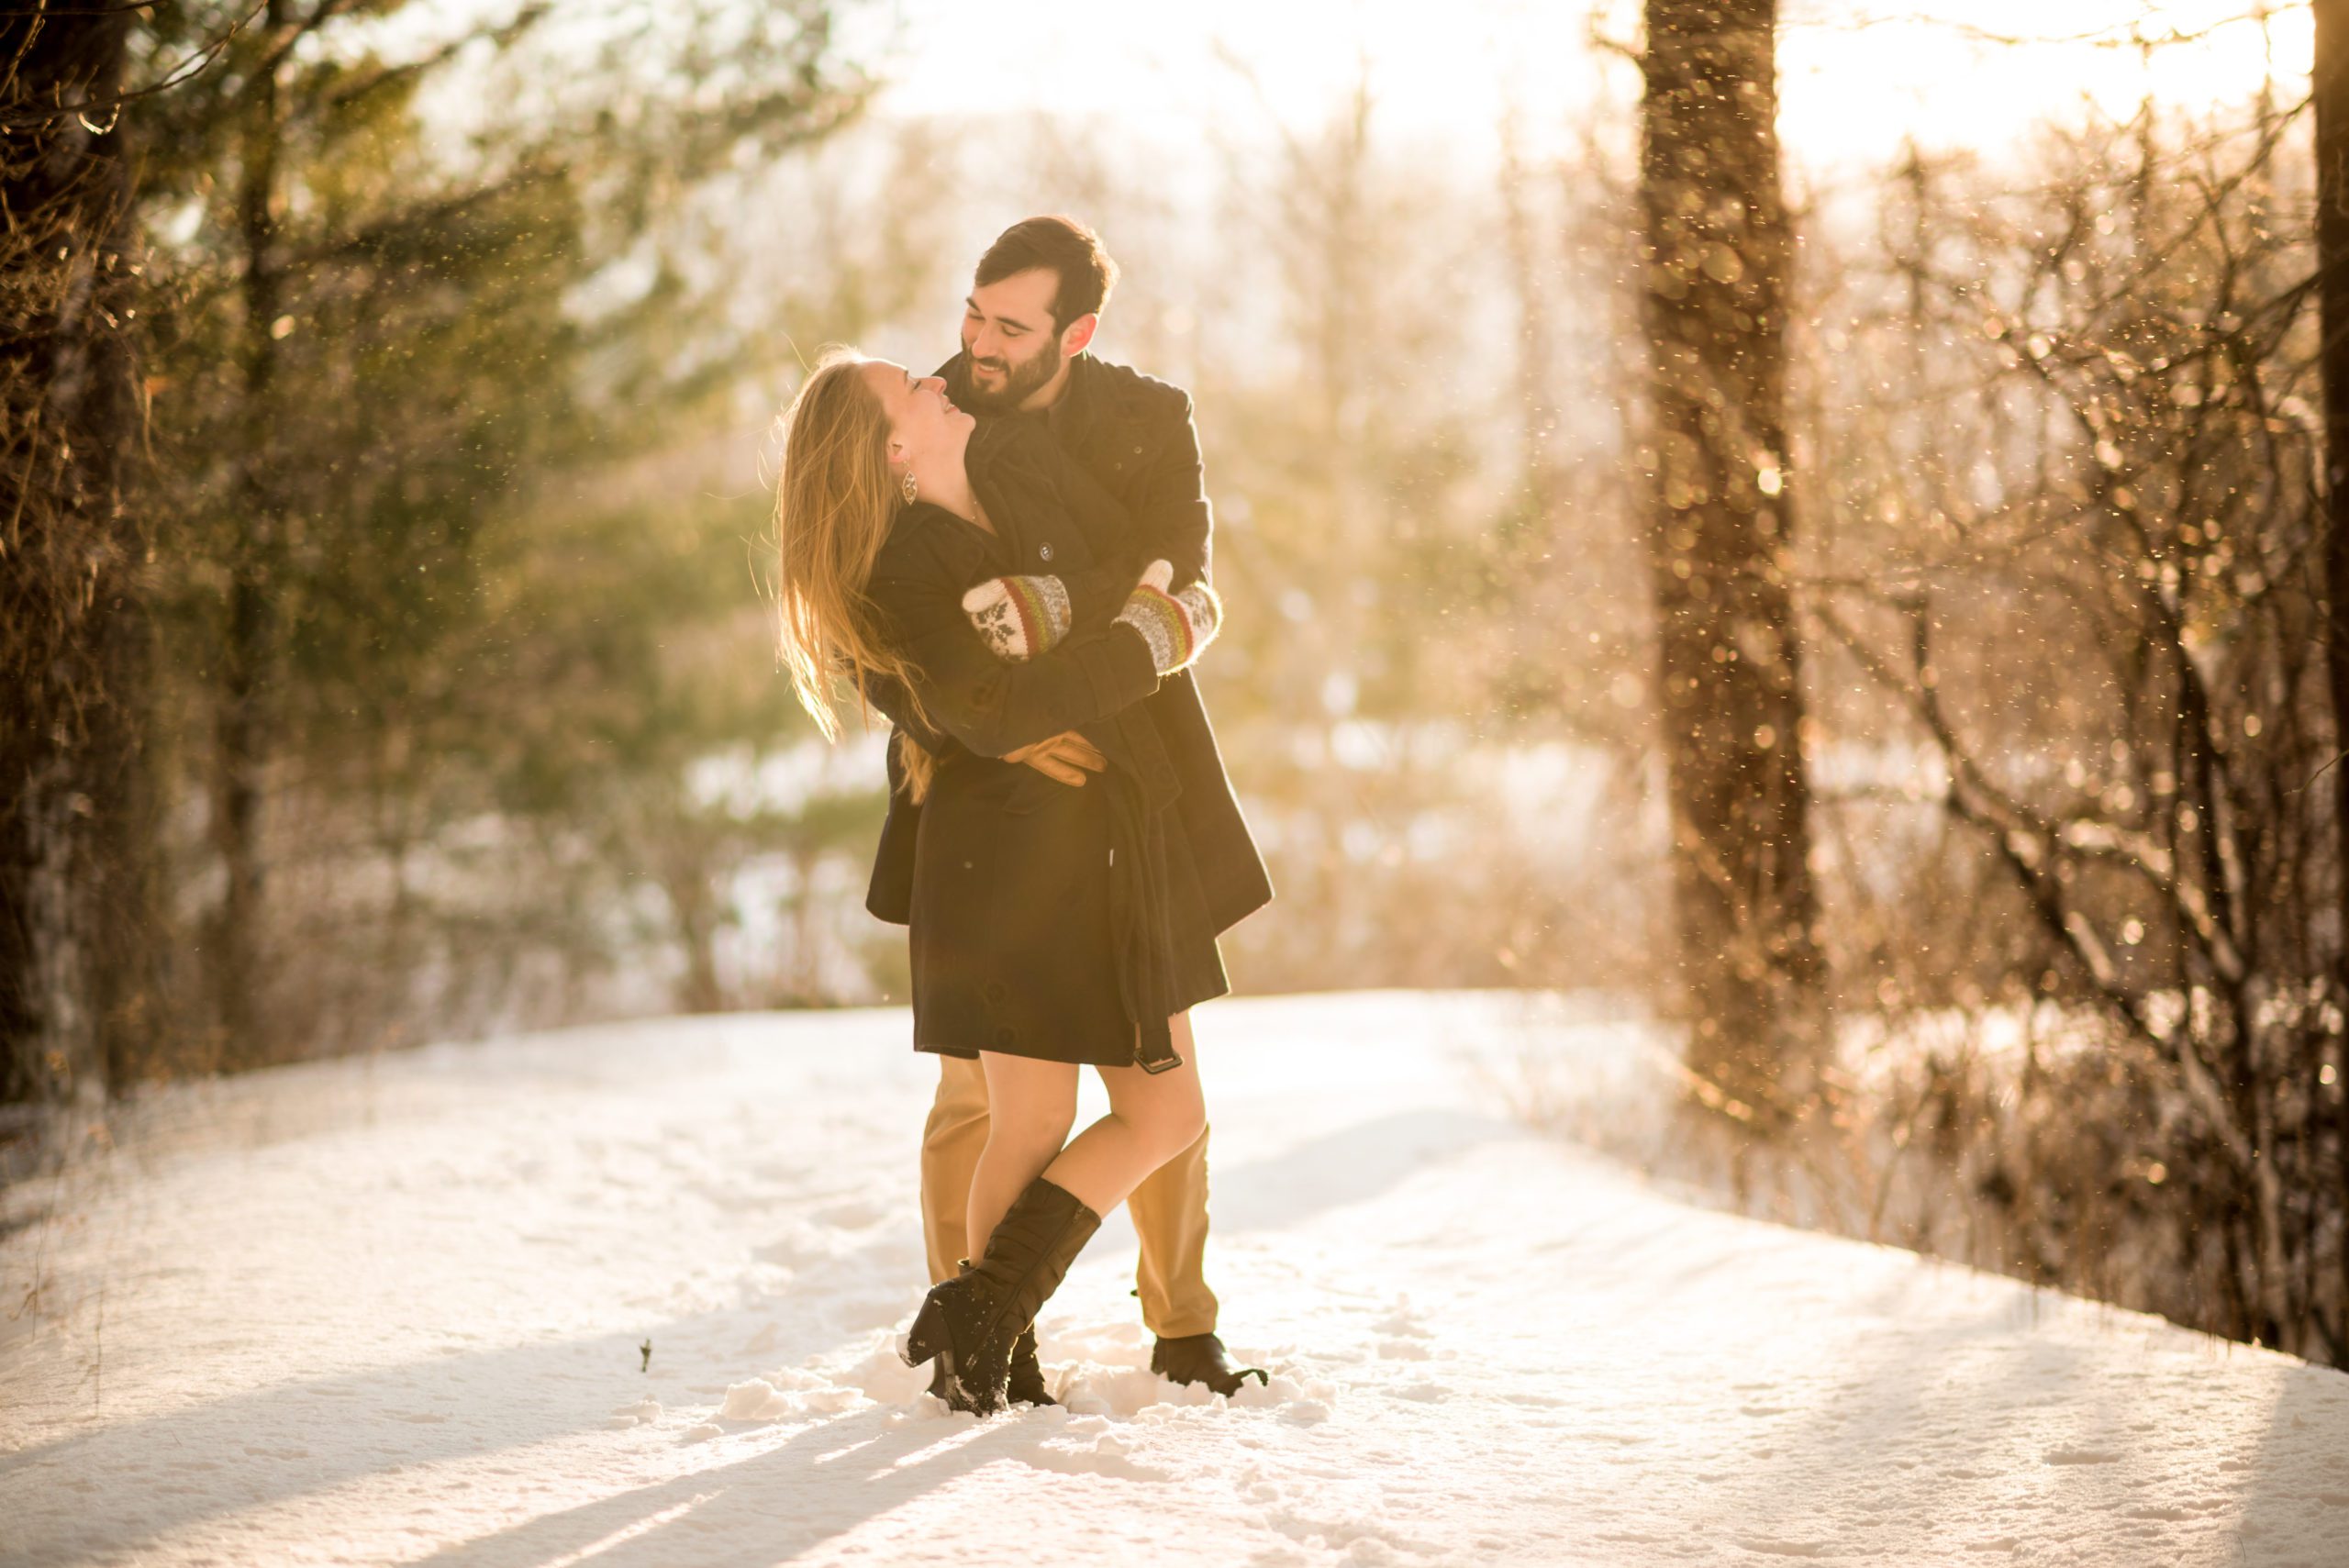
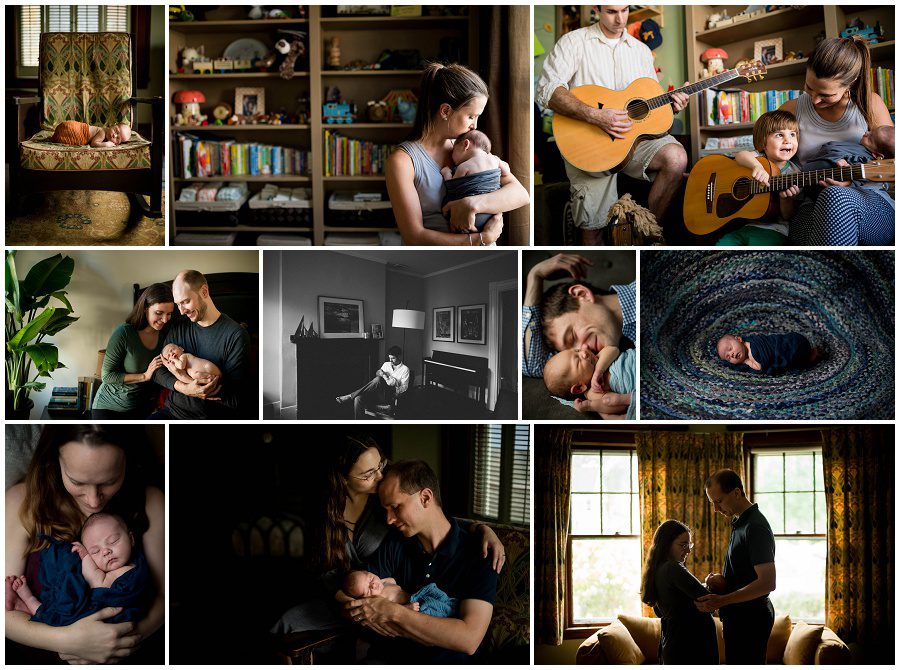
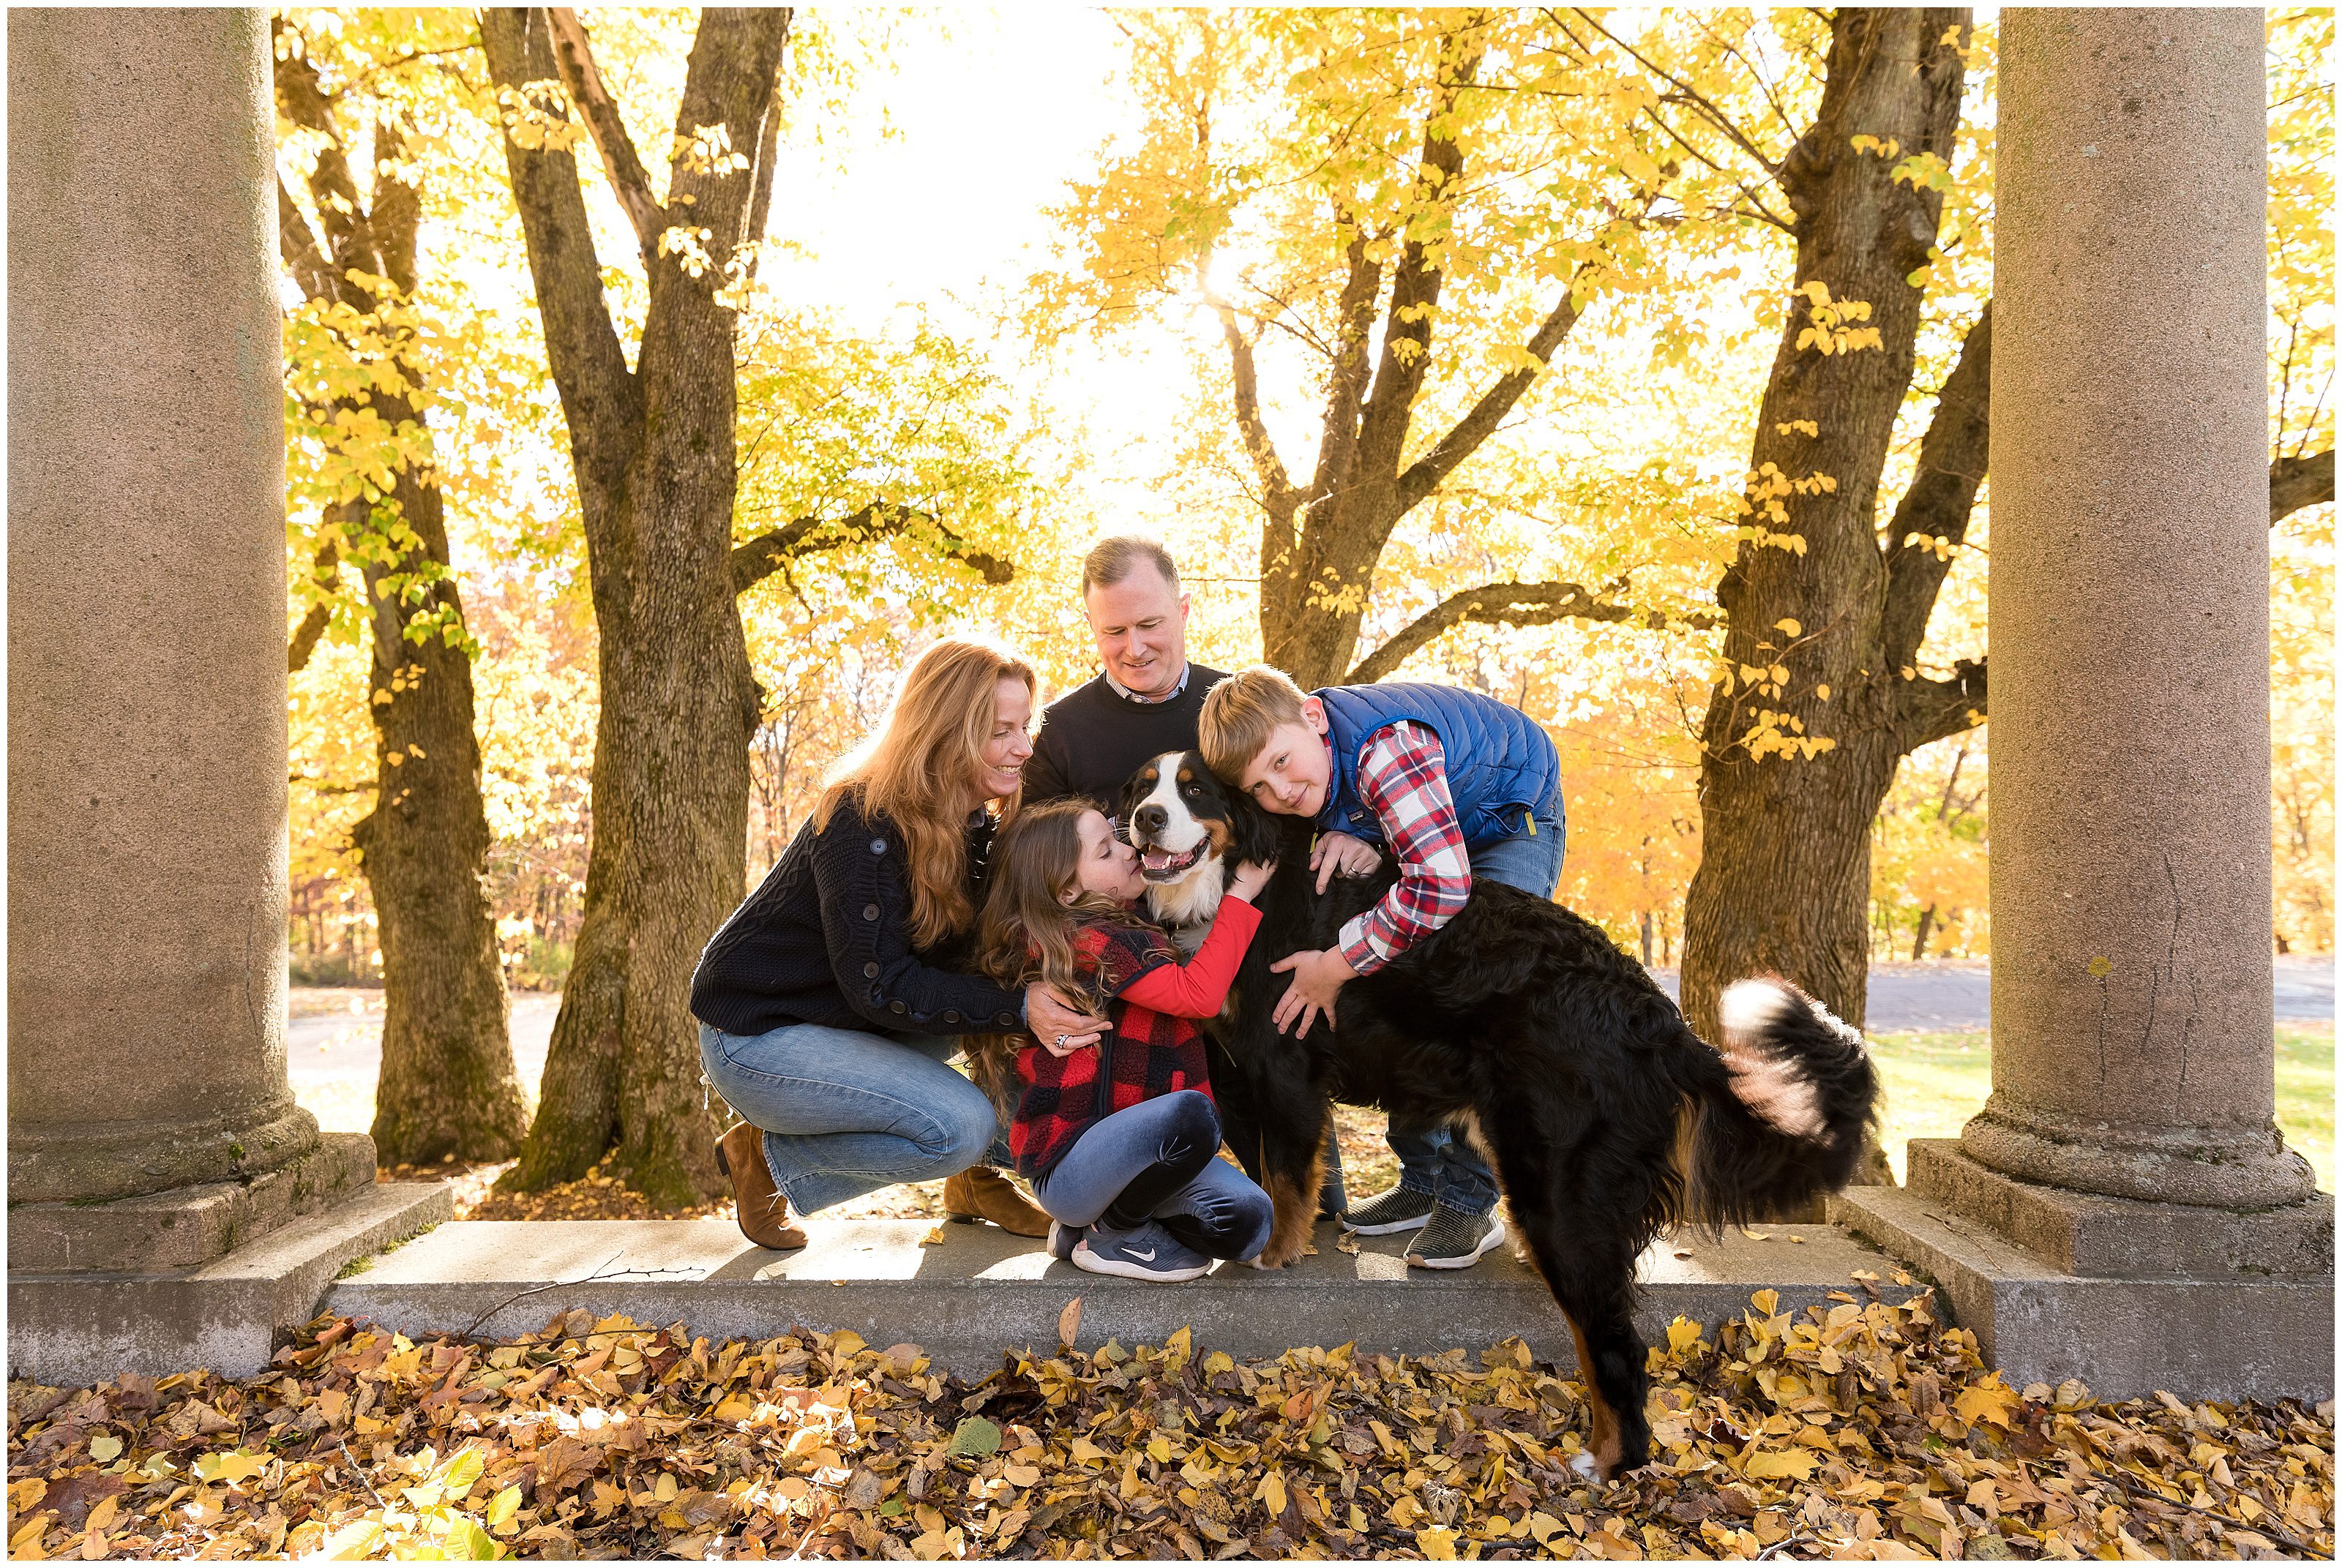
I photograph people.
Boston Newborn, Maternity, Wedding, Events, Branding and Family Photographer.
@BELLAWANGPHOTOGRAPHY
© BELLA WANG PHOTOGRAPHY 2025. All rights reserved.
By appointment only
36 Bromfield St Suite 404 Boston, MA 02108 | 617 249 3886
